
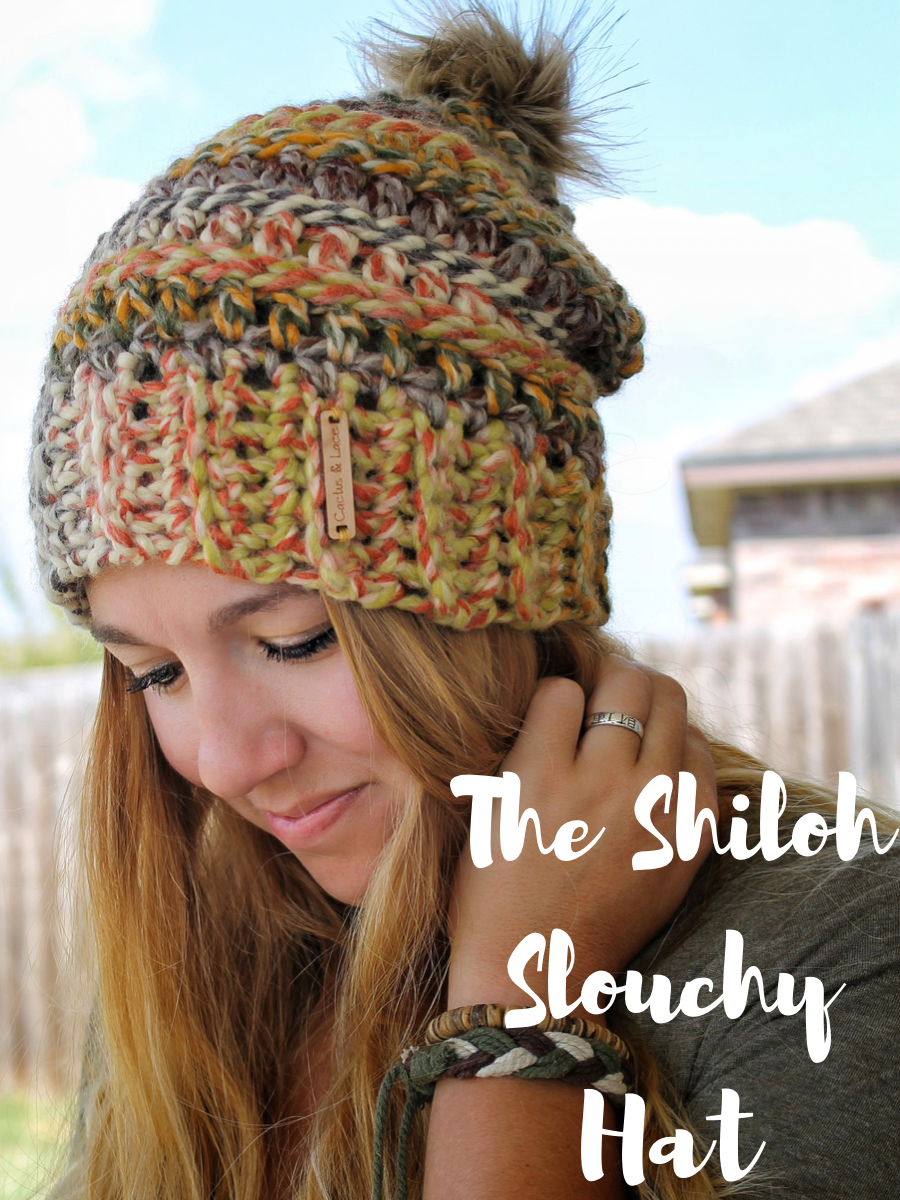
Easy Crochet Hat ~ The Shiloh Slouchy Hat ~ Free Pattern

The Easiest Crochet Hat you will ever make ~ The Shiloh Slouchy Hat ~ is a chunky crochet hat that is very beginner friendly and can be made in less than an hour.
Read through my inspiration and design process, scroll down for the Free Pattern or purchase the Full Color coded Printable PDF Here!

Inspiration + Design
Back a few years ago when I was still selling finished pieces, I designed this Easy Crochet Hat. The main goal when designing this pattern was to have a design that looked trendy and stylish, was beginner friendly, and could also be made in a flash!
The Shiloh Slouchy Hat checks all those boxes!
The Yarn
For this Easy Crochet Hat, I used Lion Brand Wool Ease Thick & Quick yarn, a category 6 super bulky yarn. I chose this yarn for a couple of different reasons, the first being the amazing color choices. There are over 70 different color-ways, and each one is more beautiful than the next. I especially love the print options like “Hudson Bay” and “Coney Island”.
The next reason why I love this yarn is the fiber content. It is 80% acrylic and 20% wool. Which makes this easy crochet hat super warm and cozy without the itchiness that can sometimes come with wool yarns.
Shop Wool Ease Thick & Quick Here!

Pattern Links
~Purchase the Ad-Free Printable PDF on Etsy.
~ Purchase the Ad-Free Printable PDF on LoveCrafts.
~Save it to your Ravelry Here.

To Sum it up:
This Easy Crochet Hat is meant to be chunky and oversized, and will fit a large range of head sizes from 21”-24”. Using only simple double crochet, single crochet and slip stitches, makes this pattern not only the perfect beginner project but also a project that will work up in a flash. This slouchy beanie will definitely become a fall and winter favorite.
Yarn
Less than 100 yards of Category 6 Super Bulky yarn. I used Lion Brand Wool Ease Thick & Quick.
Notions
-Size N (10.0 mm) & Size P (11.5 mm) Hook
-Yarn Needle
For Faux Fur Pom
-Sheet of faux fur
-Stuffing
-Darning Needle
Gauge
Using the size P hook
7 Dc and 4 Dc rows = 4”
Sizing
Adult 21”-24” head circumference
Measures approximately 9” wide by 11” tall laying flat
Abbreviations Used
Ch- Chain
Yo- Yarn Over
Sl St- Slip Stitch
Blo- Back Loop Only
Sc- Single Crochet
Dc- Double Crochet
Dc2Tog- Double Crochet two together
Pattern Notes
- This hat is designed to be oversized and “Slouchy”, if you want you hat to be shorter, then decrease the number of rows in the body of the hat.
- Chain stitches do NOT count as a stitch throughout pattern
- For a more custom fit, measure the brim of the hat around your head before slip stitching it together. If you need to adjust the band length, add or subtract rows until the band fits your desired size. After slip stitching the band together, Sc the same number of rows in your band plus one. For example, if your band is 35 rows, Sc 36 around the brim. Continue with the remainder of the pattern, keeping in mind that the stitch counts will differ.

The Shiloh Slouchy Hat
Brim
Starting with your N Hook
Row 1: Ch 7, Sc in the 2nd Ch from the hook and across. Ch 1, Turn. (6)
Row 2-32: Sc in the Blo only. Ch 1, Turn. (6)

Do not fasten off. You will now be connecting the two short ends of the brim by slip stitching them together.
Fold the brim with the short sides together (row 1 & row 32). Going through both loops on each end of the band, Sl St the edges together. (6 Sl St)


Ch 1 and flip the band to where the seam in now on the inside of the band and turn your hat to face you.

Body
Round 1: Sc 33 evenly around the brim. Join back into your first Sc with a Sl St. (33)

Switch to the P Hook
Round 2: Ch 2, Dc in the first St (where your Ch 2 is) and in each St around. Join into your first Dc with a Sl St. (33)
Round 3: Sl St in each St around. Make sure when you are making your slip stitches that you make them loose so that they don’t constrict the natural stretch of the hat. Join to the first Dc from the previous round. (33)


Round 4: Ch 2, Dc in each Dc from previous Dc round. Join to first Dc. (33)

Round 5-7: Repeat round 3 & 4 alternately. Ending with a Sl St round. (33)
***This is where the decrease rows begin. If you would like your hat longer, repeat row 3 & 4 again. If you would like your hat shorter, you can start your decrease rows after row 5. ***
Round 8: Ch 2, Dc2Tog, then Dc around. Join to the first Dc. (32)
Round 9: Repeat round 3
Round 10: Ch 2, *Dc2Tog, Dc 2* repeat from * * around. (24)
Round 11: Repeat round 3
Round 12: Ch 2, *Dc2Tog, Dc* repeat from * * around. (16)
Round 13: Repeat round 3
Round 14: Ch 2, Dc2Tog around. (8)
Round 15: Repeat round 3
Finish Off, leaving a long tail to sew up the top.

To close up the hat, use the tail end of your yarn and your yarn needle to weave in and out along the last round. Once you have completed a running stitch around the entire last round, gently pull the yarn tail up, closing the hole in the hat.


Faux Fur Pom Tutorial
Draw a circle on your faux fur sheet. The bigger the circle, the bigger the pom will be, my circle was approximately 7 inches across. Then very carefully, cut your circle out. You will now use a piece of yarn and a darning needle to create a running stitch around the entire perimeter of the fur circle. You will now start to pull very gently on both yarn tails. This will start to make a little bowl shape. Now start to add the stuffing as you continue to pull the pom closed. Continue to fill up the pom as much or as little as you would like. Once you are happy with how your pom looks, close up the hole completely by pulling the yarn tails closed and tying the two yarn tails together to secure.


Finish up by attaching your pom to your the top of your hat with what ever method you prefer, tuck in those ends, and enjoy your new favorite winter hat!
Tie off, tuck in those ends and enjoy your new Shiloh Slouchy Hat!
Make sure to pin this pattern for later, and if you do make one tag me @Cactus.and.lace on Instagram and use the hashtag #CactusandlaceDesigns . I can’t wait to see your Shiloh Slouchy Hats, and I would love to share your pics! 🌵
Other Free Crochet Patterns You Might Love


The Austyn Pullover/ The Haven Pullover/ The Carli Cardigan/ The Binx Hat