
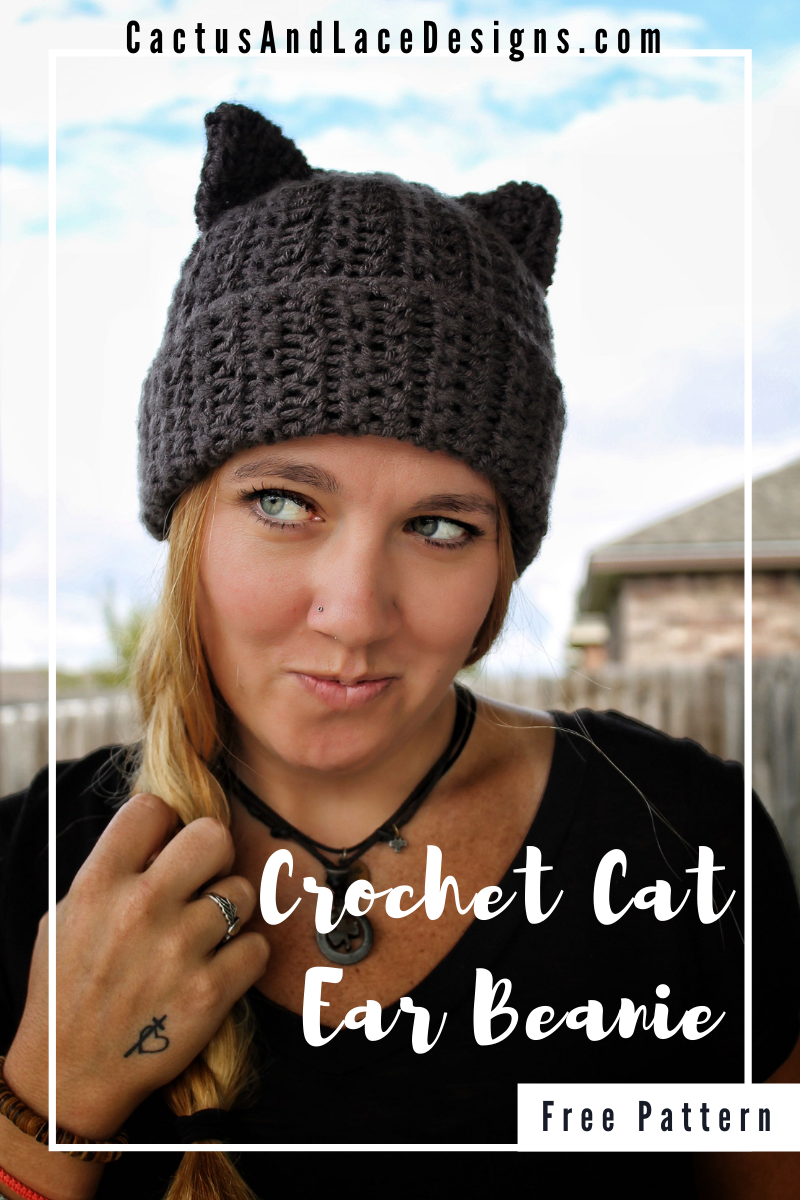
Cat Ear Beanie~ The Binx Kitty Hat~ Free Pattern

A super cute and easy Cat Ear Beanie made from a rectangle, The Binx Kitty Hat is a Free Pattern here on the blog!
Read through my inspiration and design process, scroll down for the Free Pattern or purchase the Full Color coded Printable PDF Here!

Inspiration + Design
Since October is my all time favorite month, it goes without saying that I am also a huge Halloween fan! We are the kind of people who shamelessly decorate for Halloween on September 1st and leave it up until we are forced to replace it with Christmas decor….. yeah I love it that much!
And when I think about Halloween, I can’t help but think about Hocus Pocus! So when I was brainstorming fall ideas, my first thought went to Hocus Pocus and of course, that adorable little sidekick, Thackery Binx. I knew I needed to create a cute little kitty hat in honor of Binx!

Quirky + Stylish
I wanted this Cat Ear Beanie to be the perfect combination of quirky and fun mixed with modern style. I think that by forming the ears as a part of the hat rather than attaching them afterwards, I managed to achieve a more modern look. Not to mention that it’s also a whole lot easier to make it all in one piece! Yay for not having to attach pieces!
The Yarn
For this Cat Ear Beanie, I used Lion Brand Basic Stitch, a category 4 worsted weight yarn. When it comes to worsted weight yarns, Basic Stitch is by far my favorite. Because of its anti pilling fiber, this yarn is not only durable but extremely soft and cozy. On top of that, it comes in over 40 beautiful colors.
Shop for Basic Stitch Here!

Pattern
~Purchase the Color Coded Printable PDF Here.
~Save it to your Ravelry Here.

To Sum it up:
The Binx Kitty hat is a very beginner friendly Cat Ear Beanie. It uses only one stitch, the Half Double Crochet stitch, and is worked in a simple rectangle. The ears are formed last by working a running stitch through the top 2 corners. The result is a perfectly fun and stylish beanie that can be worn throughout the cooler seasons!

Yarn
Lion Brand Basic Stitch (Category 4-Worsted, Aran weight)
Below is the approximate yardage for all sizes:
| Size | Adult | Child |
| Approx Yds | 200-250 | 120-150 |
Notions
Gauge
14 Xhdc and 10 Xhdc rows= 4”
Sizing
Adult Size– Fits heads with approximately a 21”- 24” head circumference
Finished Dimensions 11” Tall and 16” Wide
Child Size – Fits heads with approximately a 18”- 21” head circumference
Finished Dimensions 9” Tall and 14” Wide
Abbreviations Used
Ch- Chain
Yo- Yarn Over
Hdc- Half Double Crochet
Fhdc- Foundation Half Double Crochet
Pattern Notes
-Pattern is worked in one long rectangle then seamed to form the hat.
-Ch 2 does Not count as a stitch throughout
-Pattern is written in Adult size with child size in the parentheses
Special Stitches
Crossed Half Double Crochet (Xhdc)- Skip the next stitch, Hdc into the following stitch. Then working behind the Hdc stitch that you just made, Hdc into the previously skipped stitch.


The Binx Kitty Hat
Row 1: Fhdc 46(32) or until your work measures 11”(9”) long. Turn
Row 2: Ch 2. Skip the First St, Hdc in the 2nd St. Then going behind the Hdc you just made, Hdc in the skipped St. (one X created). *Skip the next stitch, Hdc in the next St. Then going behind the Hdc you just made, Hdc in the skipped St*. Repeat from * to * across. Turn. 46(32)
Repeat row 2 for a total of 40(35) rows or until your work measures 16”(14”) long
At the end of row 40(35), Ch 1 and flip your rectangle. You will now be working into the edge of your hat. Sc evenly across the bottom edge.


Finish off Leaving a tail approximately 36” long to sew your hat together.
Construction
Fold your hat in half, putting the 2 shorts ends of the rectangle together. Use a yarn needle to seam up the side of the hat and then across the top of the hat. Once your hat is seamed, flip it inside out. This is now the right side of the hat and the seam in on the inside.

Forming the Ears
Starting from the left corner, count approximately 5 rows or 2.5” toward the center of the hat and place a stitch marker. From the left corner count approximately 14 stitches down or 3.5” and place a second stitch marker. Repeat from the right corner placing a second set of stitch markers along the top and the right side.

Cut 2 pieces of yarn approximately 9” long. Using your yarn needle, work a running stitch through both sides of the hat from the bottom left stitch marker up to the top left stitch marker in a diagonal line. Once you have reached the top stitch marker, take both ends of yarn and cinch the hat together to form ears. Tie a knot on both ends of the yarn to secure the placement of ears and finish off. Repeat for the other ear.


Tie off, tuck in those ends and enjoy your new Binx Kitty Hat!

Make sure to pin this pattern for later, and if you do make one tag me @Cactus.and.lace on Instagram and use the hashtag #CactusandlaceDesigns. I can’t wait to see your Binx Hats, and I would love to share your pics! 🌵
Other Free Crochet Patterns You Might Love


The Haven Cardi// The Piper Twisty Headband// The Baja Hoodie// The Twila Earwarmer