
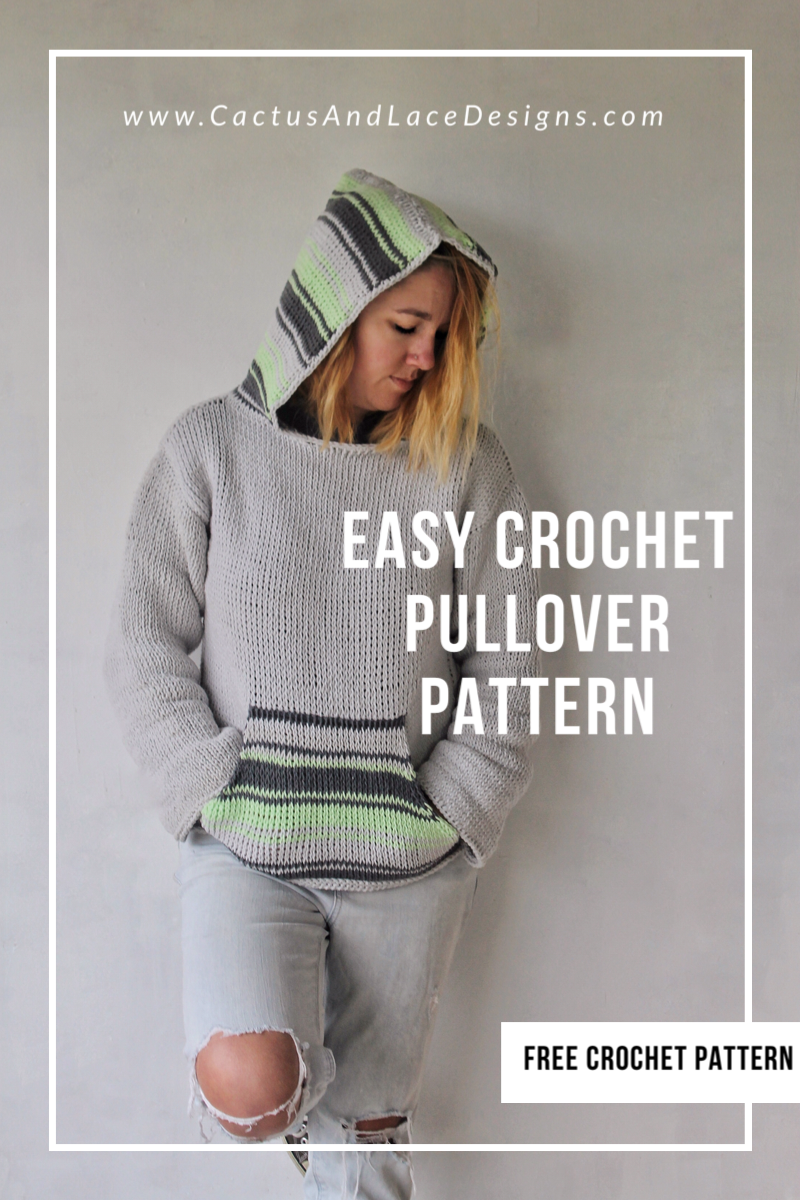
Easy Crochet Pullover Pattern ~ The Baja Hoodie Part 1

Say Hello to your new favorite hoodie- The Baja Hoodie, an easy Crochet pullover pattern here on my blog!! Find Part 1 of the Free Pattern below or purchase the Complete Printable PDF Here.
First, read about my inspiration and design process, or scroll down for the Free pattern.

The Inspiration & Design
Tunisian crochet has been all over the place lately, and right away I felt drawn to it. The way the unique stitches were created with one extra long hook was intriguing to say the least. I knew that I wanted to jump on the Tunisian train as quick as possible, but the only problem was, I had no idea anything about Tunisian crochet.
After a quick Amazon search for the perfect beginner set of Tunisian hooks, I placed my order, then impatiently waited for my mailman to bring me some happy mail!
I started practicing my Tunisian stitches, and as soon as I came across the Tunisian Knit stitch, I knew this was the stitch I wanted to use for my new design! It looks exactly like a traditional knit stitch, but you don’t even have to learn how to knit! How Great is that?!

A Crochet Pullover for Everyone
It had been on my mind for a while now to create a crochet pullover, something that could be worn throughout the seasons, something that was truly for everyone. I feel that The Baja Hoodie is that perfect everyday crochet pullover!
To make this hoodie even more versatile, I decided to incorporate a “Size-Free” or all inclusive sizing guide with this design.
What exactly is a “Size-Free” pattern?
A “Size Free” pattern is a simple way of saying that this pullover is completely customizable to your specific body measurements! Doesn’t that sound amazing?
In this tutorial I will be walking you though every step to creating and customizing your very own perfectly fitted crochet pullover! Whether you prefer oversized or more fitted tops, cropped or long length, this tutorial will give you the knowledge and confidence to make your perfect crochet pullover!

If the thought of a size free pattern isn’t really your thing, you can grab the Full PDF with complete size instructions (ranging from XS- 5XL), as well as the Size Free version Here.
Are You Ready To Get Started?!
Finished Sizes
This pattern is a “Size Free” pattern, which means that the size is fully customizable to fit your individual needs. Because there is no gauge required, you can choose any size yarn you prefer, and the appropriate hook. However, since this is a Tunisian crochet pattern, it is recommended to go up a hook size or two. For example, in this tutorial, I am using Worsted (size 4) weight yarn and a size J (6.0 mm) Tunisian hook.
Materials
-DK (size 3), Worsted (size 4), or Bulky (size 5) weight yarn in 3 different colors. You can use which ever yarn you prefer.
-Appropriate size Tunisian crochet hook
-In the example, I used Lion Brand “Feels like Butta” worsted weight yarn and a size J (6.0 mm) Tunisian crochet hook.
Abbreviations Used
Ch- Chain
St- Stitch
Yo- Yarn over
Tks- Tunisian Knit Stitch
RetP- Return Pass
Dec- Decrease
Sc- Single Crochet
Pattern Notes
-This Tunisian Crochet pattern is worked with the Tunisian Knit Stitch.
-Pattern is worked in rows, with each row consisting of a forward pass and a return pass.
-This hoodie is made in 5 different parts
-The front panel (worked from bottom up).
-The back panel (worked from bottom up)
-2 sleeves (worked in a rectangle from shoulder to wrist
-The hood (joined at neckline & seamed at the top)
-This hoodie has optional color work on the kangaroo pocket and the hood. Therefore, if you choose to have colored stripes, you will need 3 colors.
-Color A, in this example is Light gray
-Color B, in this example is Dark gray
-Color C, in this example is Lime green
***Tunisian Tips***
– Make sure to crochet loosely so that your return pass is easier.
–Generally use a hook that is a size or 2 larger than what the yarn calls for (in this case, use a size J 6.0 mm).
-Lastly, don’t worry if your work is curling up, this is normal.
Special Stitches
Back Bump
When you are looking at the front of your starting chain, you will see that each chain makes a V-shape. Turn the chain over, and look at the back of it. You will see a 3rd loop, this is your back bump.

Tunisian Knit Stitch (Tks)
Insert your hook in between the second 2 vertical bars, coming out the back of your work. YO, bring up a loop, you now have 2 loops on your hook. Continue inserting your hook in between the vertical bars all the way across your row. When you get to the last stitch, which is your chain stitch, insert your hook into that stitch, making sure to go under both bars. Then work a traditional Return Pass.


Traditional Return Pass (RetP)
Yo, pull through 1 loop. This is the Ch St. Then *Yo, pull through 2 loops. Repeat from * until 1 loop remains on hook.


Decrease (Dec)
Insert your hook in between the Next 2 vertical columns, coming out the back of your work. Yo, draw up a loop. One decrease made.


Pattern
Step 1: First, measure your bust in inches.
Step 2: Then, decide how much ease you want in your hoodie. Ease is basically how tight or how loose you like your clothes to fit. There are 3 general categories of positive ease.
-Classic fit – adds approximately 2”-4” ease.
-Loose fit- adds approximately 4”-6”. M
-Oversized fit- adds 6” or more.
I added 4” of positive ease to my hoodie.
Step 3: Add your bust measurement and the amount of ease you want.
Step 4: Then, divide your measurement by 2 to get the measurement for the front and back panels.
_______ +_______ = _______ / 2 = ________
(Bust measurement) (Ease) (Circumference) (Panel width)
Example: 35” bust + 4” ease =39” 39”/2= 19.5” Each of the panels will measure 19.5”
Begin Front Panel with Color A
Row 1: Ch the amount needed to reach your specific measurement. Then, insert your hook into the back bump of the 2nd Ch from your hook. Yo, draw up a loop, you now have 2 loops on your hook. Then, insert your hook into the back bump of the next Ch. Yo, draw up a loop. Repeat for each Ch. Once you get to the last Ch, you will have the same amount of loops on your hook as the amount you chained. RetP.
Row 2: Tks in each St. RetP.
Repeat row 2 until your panel measures your desired length.
Suggested lengths For Adult size Small are at least 24”, Medium 25”, Large 26”
Finish off, leaving a tail to sew shoulders together.
Back Panel with Color A
Repeat the instructions for front panel. However, if you would like your top to be longer in the back, add more rows to the back panel. Also, make sure to keep track of how many extra rows you added to the back.
Finish off, leaving a tail to sew shoulders together.
Seaming the panels
Step 1: Lay your 2 panels together with right sides facing in. The wrong sides will be visible. Then line up your edges. If you added rows to your back panel, make sure that you line up your rows correctly. For example if you added 4 rows to your back panel, line up the 1st row on the front panel with the 5th row on the back panel. And then place a stitch marker.
Step 2: Then, starting on the outside of the panels, seam the tops of your 2 panels together to create your neck opening. Make sure to seam the same amount of stitches on both sides of your shoulders.
Step 3: Then, you will measure from your shoulders down to where you want your arm holes to be. A good way to do this is to take the number of rows in your panel, and then divide that number by 3.
________/3= _______
(total # of rows) (# of rows for Arm holes)
For example: If my panels have 89 rows, divide 89 by 3= 29.66. I would round this number to 30.
From your shoulder seams, count down the amount of rows for your arm openings on both panels and place a stitch marker.
I counted 30 rows down on both the front and back panel.
Step 4: Finally, with a long piece of yarn and yarn needle, use the mattress seam to sew from the bottom of the hoodie up to the stitch marker at the arm hole.

Tie off.
The Baja Hoodie Tunisian Crochet Free Pattern Part 2
You are now done with part 1 of the Baja hoodie Tunisian crochet pattern. Do you feel accomplished? Well, you should! Now head on over to Part 2, where we will be working on the sleeves, hood, and kangaroo pocket!
But, if you would like the complete tutorial all in one place, you can purchase that here.
Make sure to pin this for later, and if you make one tag me @Cactus.and.lace on Instagram! I would love to share your pics!🌵