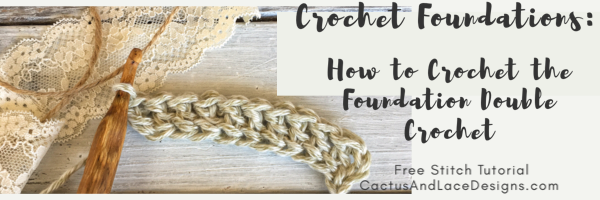
How to Crochet the Foundation Double Crochet
Want to Learn a fun and easy new Stitch? Of course you do! In this tutorial, we will be learning how to create the Foundation Double Crochet!
One of my main goals as a designer is to create patterns that encourage crocheters of all skill levels to feel confident enough to make anything they set their mind to.
So, I decided that it would be fun and helpful to create a crochet foundations series here on the blog. My hope is that through this series you will be able to learn something new or use it as a reference for when your skills need a little freshening up.

Why use Foundation Stitches?
Firstly, working into chain stitches can sometimes be a difficult task. The chains can be flimsy and as a result hard to see. Working large projects with a starting chain can be time consuming and frustrating, not to mention that the end result is often a too tight foundation row. Why, do this to yourself if there is a much simpler solution……
Foundation Stitches!
Secondly, foundation stitches create a much more cohesive and flexible look to your crochet projects. They have a stretch to them that is perfect for making garments, bottom up hats, or really anything. But most importantly, foundation stitches are a huge time saver, and who doesn’t want to save a little bit of time?!
Foundation Double Crochet
For this tutorial you will need yarn of your choice and an appropriate hook.
Abbreviations Used
Ch- Chain
Yo-Yarn Over
Dc- Double Crochet
St- Stitch
Ch 3. Yo, and insert your hook into the first Ch.

Then, Yo and draw up a loop. You now have 3 loops on your hook.

Yo then pull through 1 loop. (1 chain created).

Yo and pull through 2 loops.

YO, pull through the remaining 2 loops. One FDC completed.

YO, insert your hook into the CH ST you just made, making sure to get under both bars.

YO, bring up a loop, 3 loops on your hook.

YO, pull through 1 loop (1 chain created).

YO, pull through 2 loops.

YO, pull through the remaining 2 loops.

Repeat for the desired amount of stitches.
Pat yourself on the back, you just learned the FDC!

Make sure to Pin this tutorial for later! And if you are looking for more stitches to try, check out the Glover Stitch Tutorial.

Shop my other patterns here


