
Boho Crochet Top Pattern ~ The Lovelace Top

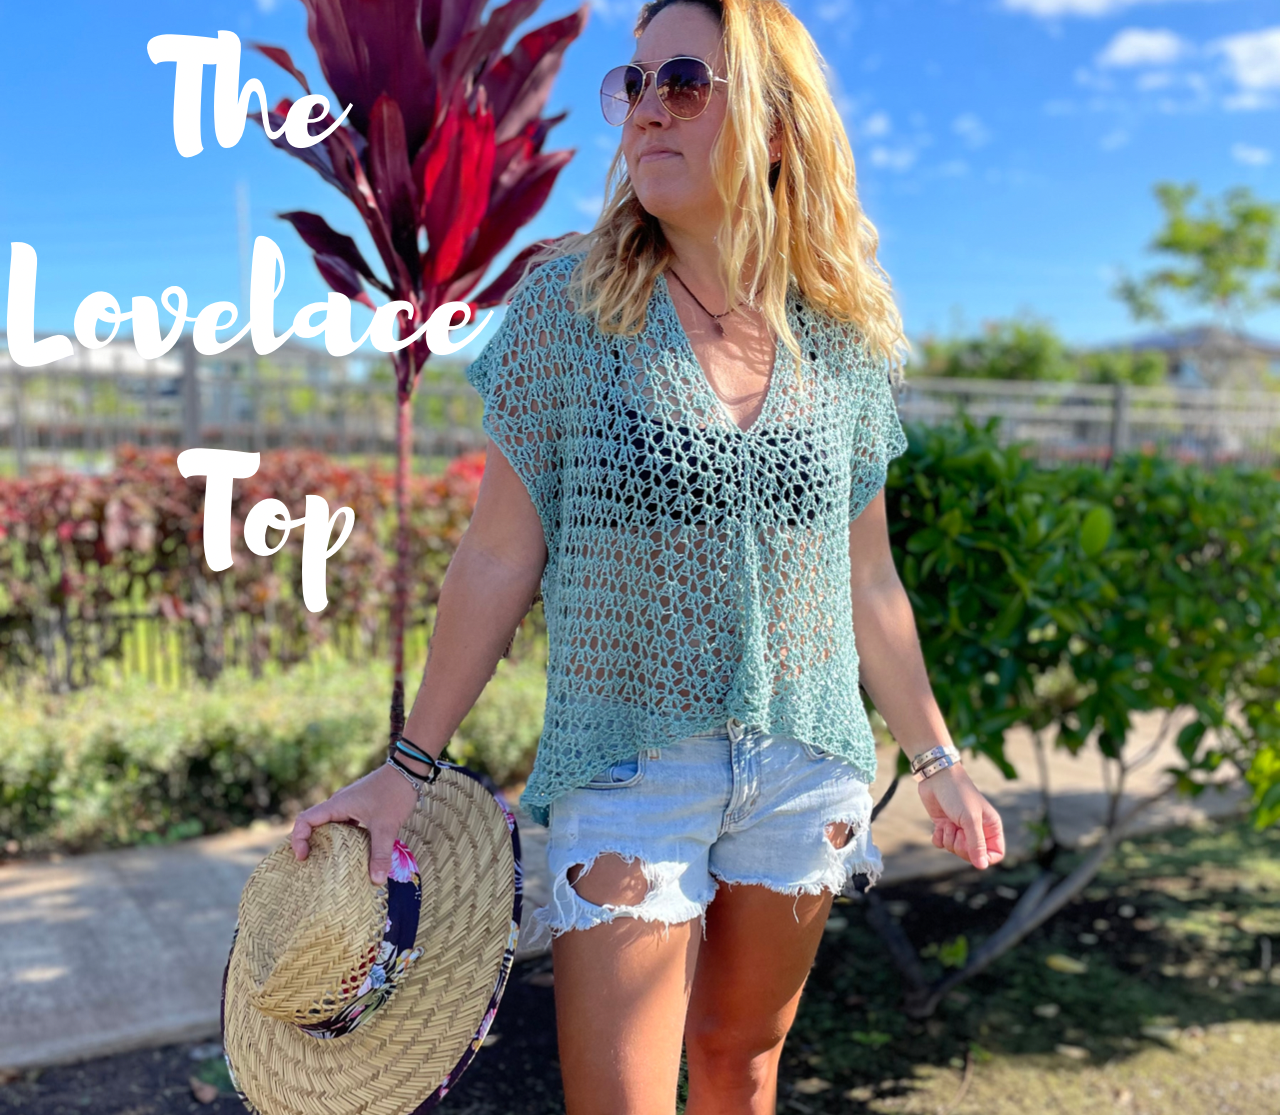
Let me introduce you to my next Boho Crochet Top Pattern ~ The Lovelace Top! It’s loose, it’s airy, it’s made with simple meditative stitches, it’s the perfect easy summer project!
Read through my inspiration and design process, scroll down for the Free Pattern or purchase the Full Color coded Printable PDF Here!

Inspiration + Design
With the temperatures on the rise ….. it’s time for my next & new favorite summer design, The Lovelace Top. For this Boho Crochet Top Pattern, I really wanted to make something that was very lightweight, open and airy. So my mind immediately started thinking of lace stitches.
I’m not normally a huge fan of lace stitches, but for this particular boho crochet top pattern, it just felt right. Does the thought of making an entire top with lacy stitches seem intimidating to you? Don’t worry, it’s definitely not as hard as it seems, and I’ve got a full step by step stitch tutorial included in the inexpensive, ad-free PDF.

How to Customize This Boho Crochet Top Pattern
The possibilities with this boho crochet top pattern are virtually endless. You can easily adjust the fit, the length, the color scheme and even make it into a cardigan style top.
Some ideas for customizing The Lovelace Top:
~Make it more of a fitted top by finding the bust measurement that equals your desired top. If that size is not available, you can adjust the amount of stitches in the foundation row to meet your desired size. The stitch multiple is 6 + 1, meaning Fsc any multiple of 6, then add 1.
~Adjust the length of the top by adding or subtracting rows on each of the panels until it reaches desired length.
~Make this top in a cardigan version by leaving the two front panels open. (Full construction details at the end of pattern.

The Yarn
For this boho crochet top pattern, I used a Alize Bahar category 3 lightweight yarn. It is made out of 100% mercerized cotton. I personally love this yarn for lightweight summer projects because it keeps you cool and has a great drape to it. Although this yarn is considered a category 3 yarn, I felt like it was on the lighter side of the weight category and can probably be substituted with a heavier category 2 or sport weight yarn.
Some yarn suggestions:
~Lion Brand Yarn 24/7 Cotton DK
Pattern
~Purchase the Color Coded Printable PDF Here.
~Save it to your Ravelry Here.


To Sum it up:
The Lovelace Top is a very oversized, open and airy boho crochet top pattern that can be made in both a ”cardigan” and a ”pullover” version. It is made in 3 separate rectangles using simple double crochet and chain stitches making it a quick and easy project for beginner and experienced crocheters alike.
Yarn
Category 3 light weight DK yarn. Example uses Alize Bahar.
Below is the approximate yardage for all sizes:
| Size | XS | S | M | L | XL | 2XL | 3XL | 4XL | 5XL |
| Approx Yds | 650 | 725 | 800 | 900 | 950 | 1050 | 1125 | 1200 | 1275 |
Notions
-Size K (6.5 mm) Hook
-Yarn Needle
Gauge
BLOCKED
2 Shell St + 2 V-St and 7 rows = 4”
To make a gauge swatch-
Fsc 16 and work rows 2 – 8 of the pattern. Fasten off and BLOCK. Then measure the center 4 shells/v-stitches. They should be 1” each, or about 4” total.
***Note: to ensure proper fit, it is very important to block this top because the stitch pattern used opens up a lot.***
Sizing
This Boho Crochet Top Pattern is made to be very oversized with approximately 12-14” of positive ease. The measurements are Finished garment sizes. When choosing your size, find the bust size that measures approximately 12-14” more than your actual bust measurement and make that size.
| Size | XS | S | M | L | XL | 2XL | 3XL | 4XL | 5XL |
| Bust | 42” | 46” | 50” | 54” | 58” | 62” | 66” | 70” | 74” |
| Length | 21” | 21.5” | 21.5” | 22” | 22” | 22.5” | 22.5” | 23” | 23” |
Abbreviations Used
Ch- Chain
Yo- Yarn Over
St- Stitch
Sc- Single Crochet
Fsc- Foundation Single Crochet
Dc- Double Crochet
Pattern Notes
-Pattern is worked in 3 rectangles from the top down and then seamed together at the end.
-Ch 3 counts as a stitch throughout.
-Ch 2 does NOT count as a stitch throughout.
-Pattern can be made in a Cardigan Version or a Pullover Version.
-The sizing guide follows size XS(S, M, L, XL, 2X, 3X, 4X, 5X). E.g. “Fsc 67(73, 79, 85, 91, 97, 103, 109, 115)” means Fsc 67 for XS, Fsc 73 for Small, Fsc 79 for Medium, Fsc 85 for Large, Fsc 91 for XL, Fsc 97 for 2X, Fsc 103 for 3X, Fsc 109 for 4X, Fsc 115 for 5X. If there is only one number, it applies to all sizes.
Special Stitches
V-Stitch- (Dc, Ch 2, Dc) in indicated stitch.
Shell- (2 Dc, Ch 1, 2 Dc) in indicated stitch.

The Lovelace Boho Crochet Top Pattern
Sizes Written XS(S, M, L, XL, 2XL, 3XL, 4XL, 5XL)
Back Panel
Row 1: Fsc 67(73, 79, 85, 91, 97, 103, 109, 115).
*If you are uncomfortable with the Fsc, you can Ch 68(74, 80, 86, 92, 98, 104, 110, 116), Sc in the 2nd Ch from the hook and in each Ch across*
Row 2: Ch 3, Turn. Dc in the second St. Skip the next St, V-St in the next St. *Skip the next 2 St, Shell in the next St. Skip the next 2 St, V-St in the next St.* Repeat from * to * until the last 3 St. Skip the next St. Dc in each of the last 2 St.
A full stitch tutorial to walk you through the tricky parts of the pattern is available in the Printable PDF.
Row 3: Ch 3, Turn. Dc in the second St. *Shell in the Ch 2 space, V-St in the Ch 1 space*. Repeat from * to * until the last 2 Dc. Dc in each of the last 2 St (the last Dc will be in the top of the Ch 3 turning chain).
Row 4: Ch 3, Turn. Dc in the second St. *V-St in the Ch 1 Space, Shell in the Ch 2 space.* Repeat from * to * until the last 2 Dc. Dc in each of the last 2 St (the last Dc will be in the top of the Ch 3 turning chain).
Repeat rows 3 and 4 until you have a total of 36(37, 37, 39, 39, 40 , 40, 41, 41) rows of lace.
***If you would like your top to be longer or shorter, then simply add or subtract rows before finishing off.***
Finish Off
Front Panels (make 2)
Row 1: Fsc 34(37, 40, 43, 46, 49, 52, 55, 58).
*If you are uncomfortable with the Fsc, you can Ch 35(38, 41, 44, 47, 50, 53, 56, 59) , Sc in the 2nd Ch from the hook and in each Ch across*
Row 2: Ch 3, Turn. Dc in the second St. Skip the next St, V-St in the next St. *Skip the next 2 St, Shell in the next St. Skip the next 2 St, V-St in the next St.* Repeat from * to * until the last 3 St. Skip the next St. Dc in each of the last 2 St.
Row 3: Ch 3, Turn. Dc in the second St. *Shell in the Ch 2 space, V-St in the Ch 1 space*. Repeat from * to * until the last 2 Dc. Dc in each of the last 2 St (the last Dc will be in the top of the Ch 3 turning chain).
Row 4: Ch 3, Turn. Dc in the second St. *V-St in the Ch 1 Space, Shell in the Ch 2 space.* Repeat from * to * until the last 2 Dc. Dc in each of the last 2 St (the last Dc will be in the top of the Ch 3 turning chain).
Repeat rows 3 and 4 until you have a total of 36(37, 37, 39, 39, 40 , 40, 41, 41) rows of lace.
***If you added or subtracted rows to the back panel, make sure to do the same to the front panels.***
Finish off, leaving a long tail to seam up the sides.
Construction
Once you have all 3 panels made, steam and block the panels into shape. Place the back panel down first, then lay the two front panels on top of the back panel with the foundation row on top. Line up the sides and the top of the panels as shown. Sew the shoulder seams first, then measure approximately 7.5”(8”, 8.5”, 9”, 9.5”, 10”, 10.5”, 11” 11.5”) from the top down and place a stitch marker. This will be your arm hole. Take your yarn tails and mattress seam from the bottom of your panels up to the stitch marker. Repeat for the second panel.

Cardigan Version
If you are making the open “cardigan” version, you will now make a border around the open front panels. Attach yarn in the bottom corner of the front panel and Ch 1.

Row 1: Sc evenly around the edges of the first front, around the neckline, and back down the second front. Make sure to use the same amount of Sc on both sides of the top. When you reach the bottom corner of the Left front panel, Ch 1 and Turn.
***The amount of Sc stitches around does not matter, a good rule is to place 2 Sc St in the edge of each of the rows. You can also adjust the collar width by doing more or less rows of Sc around. ***
Row 2 – Row 3: Sc in each stitch around. Ch 1, Turn.
Finish Off
Pullover Version
Once both front panels are seamed at the outer sides, measure approximately 7.5”(8”, 8.5”, 9”, 9.5”, 10”, 10.5”, 11” 11.5”) from the top down on the inner sides of the front panel and place a stitch marker. This is your neck hole. If you would like your neck opening to be bigger or smaller, adjust the number of inches from the top of your panels. Take a long piece of yarn and mattress seam up to the stitch marker.

Tie off, tuck in those ends and enjoy your new Lovelace Top!
Make sure to pin this pattern for later, and if you do make one tag me @Cactus.and.lace on Instagram and use the hashtag #CactusandlaceDesigns . I can’t wait to see your Lovelace Tops, and I would love to share your pics! 🌵
Other Free Crochet Patterns You Might Love


The Lennon Tank // The Aurelia Top // The Ivy Tee // The Harper Tee
Comments are closed.
Natural Summer Crochet Tunic Ideas - Pattern Center
June 8, 2022 at 7:19 am[…] this free pattern on cactusandlacedesigns.com or read more about it on […]
The Harlow Crochet Halter Top ~ Free Pattern ~ Cactus And Lace Designs
June 21, 2022 at 9:01 pm[…] The Lovelace Top // The Wrenigan Tank // The Lennon Tank // The Rowan Racerback […]